skip to main |
skip to sidebar
Pressure washing the deck gave us hope that it was not a complete loss! (See previous post.) Due to many years of neglect, some of surface area was chewed up and had a felted texture after pressure washing. This is not good for bare feet... splintery! The 3 step plan: counter sink all the nails; completely sand the top surface and edges; and seal with a good oil based sealer.We called our good friend Justin for help... his knees are 10 years younger and he had some extra time between his own projects to take on this one! (Thanks Justin!) He quickly counter sunk all the nails. So quick I didn't get a chance to take any pictures of this process.To sand this monster we rented a 12" x 18" random orbit floor sander. We struggled at first, but then Justin found the magic trick and the correct grit sand paper (60 grit) and after a good 5 hours in 95° weather the first round of sanding was complete. 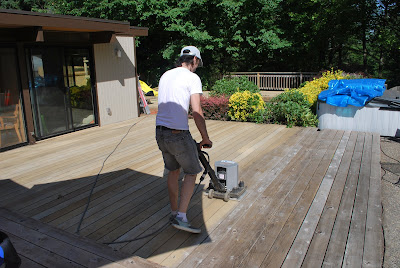
 Finding a bit of relief from the heat was tricky, but Justin tried to find shade whenever possible. Note from Justin: sunscreen lotion and sawdust are not a good combination for your skin... he looked like a powdered donut!
 Surface sanding complete! The finish sanding of the edges, rises, and trim had to be done by hand. It looks really good.
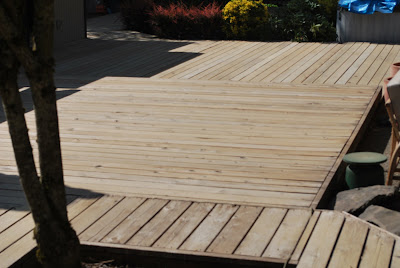
 The newly sanded wood needed to rest a bit before sealing. According to the experts we consulted at Ricks Custom Deck & Fence here in Gresham, sanding causes the pores of the wood to close up for a bit. After resting a couple of days the pores opened and were ready to accept the sealer. (A good way to test the pores is to pour a tablespoon of water on the wood... if it soaks in, the pores are open and ready for sealer... if it beads up, the pores are still closed.)We used an oil-based wood sealer recommended by and purchased at Ricks. They originally built the deck 12 years ago, so I trust their advice. The sealer has an mold/mildew inhibitor and is also supposed to keep the wood from turning grey. The sealer penetrates the wood surface and dries to a beautiful warm cedar color.
  Arrr ye scurvy dog! Swab the deck or walk the plank... Justin swabs the deck!
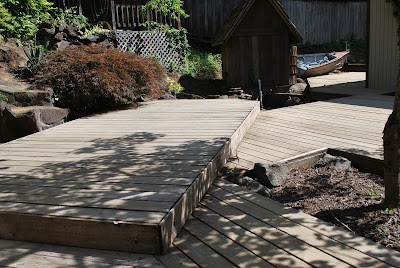
 The finished deck looks amazing. Better than I ever imagined. We will seal it again in 90 days and then clean and seal it annually. Hopefully, this will keep the deck in good shape for several more year. (fingers crossed)
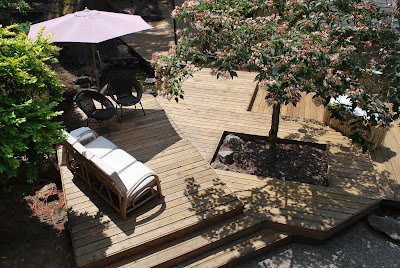 Footnote: we've had several pool parties since restoring the deck and the sealer seems to be doing its thing quite well. Water just beads up. Looks just as good as the first day. I'm very, very happy. :)